My priority is to finish and submit as many usable photographs and videos as I can. My photo retouching therefore focuses on exposure, color, and contrast; I generally do not retouch skin. I also want to reduce, where possible, the work of fixing clothing logos and people in the background one image at a time.
That makes the location, clothing, background, and timing important. A small change to the composition during a shoot can sometimes leave me with a usable shot that needs little work afterward.
This article sets out what I check on location, with examples from my own shooting methods. It primarily covers photographs and videos for commercial stock, such as advertising. News and editorial uses have different editing and submission conditions, so I do not treat them in the same way.
01 First, check whether photography is allowed there
Being allowed to enter does not settle the conditions for commercial photography
Parks, streets, shrines, and other nearby places offer scenes I want to photograph. But “anyone can enter” or “nobody is here now” is not enough to conclude that commercial photography is also unrestricted.
My approach is to check each location's rules and obtain permission if it is required for commercial photography. At ordinary parks, I sometimes shoot while considering both the rules and the situation on site. When taking a large gimbal into a shrine or similar location, however, I often explain that it is a commercial shoot and ask for confirmation. This does not mean that smaller equipment removes the need for permission.
There are three things I want to establish.
- What kinds of photography are allowed there? Check the conditions for commercial use, model shoots, video, tripods, and similar matters.
- Which areas can be used, when, and in what way? Check the shooting area, times, number of people, equipment setup, access restrictions, and similar conditions.
- For what uses can the resulting assets be supplied? When needed, explain that the assets will be licensed to third parties as stock.
Separate permission to use the location from rights in what appears in the frame
Permission from a facility to shoot and checking rights relating to the people, artworks, buildings, and other things shown are not a single procedure. Adobe Stock also provides release guidance for identifiable people, private property, artworks, and similar subjects. I avoid assuming that permission to shoot at a location means everything photographed there can be submitted as commercial stock. Adobe Stock release guidance
Some parks and gardens distinguish casual snapshots from commercial photography, or restrict photography and equipment use during busy periods. Kyu-Furukawa Gardens' photography guidance is an example for one particular facility. The starting point is the latest guidance for the destination you intend to visit.
I avoid submitting work without understanding the rules on the assumption that “it will be fine if it passes review.” Holding anything I cannot confirm, while working on shots I can take elsewhere or with another composition, also suits the way I want to keep producing.
Explain what you are photographing and the intended use to people helping with the shoot. Distinguish permission to enter, photograph and license the material, and take local legal questions to a local professional. Consider whether your conduct will leave the next photographer welcome too.
02 Change how we shoot rather than asking passersby to move
Keep the route clear first
During a family shoot, a passerby once stopped within my frame and I found myself wishing they would move on quickly. But that person had not come to interfere with the shoot. They were simply visiting and spending time there normally. I cannot assume they should accommodate my photography.
When I arrive at a location, I look at the routes people use as well as the composition. Bags, tripods, and people waiting should not spread across entrances, stairs, shrine approaches, narrow paths, or the space in front of benches. If a dedicated shooting area has been authorized, I follow its conditions. In places shared with ordinary visitors, the basic approach is to occupy no more space than necessary.
I keep unused equipment together so we can move promptly when needed. I choose somewhere a tripod can stand securely. Rather than setting it up unsafely to keep a path clear, I change the location itself.
We also adjust the moment we shoot
If someone passes, we stop shooting for a moment. If a brief gap is too short for the video we need, we wait or change the composition. We pause when it becomes crowded or staff give instructions. Sharing those decisions with models and companions makes it easier to move.
In quiet places, I also watch the volume of my voice and thank those who have helped. After the shoot, I check for equipment, rubbish, and forgotten belongings, restore the area to its original state, and leave.
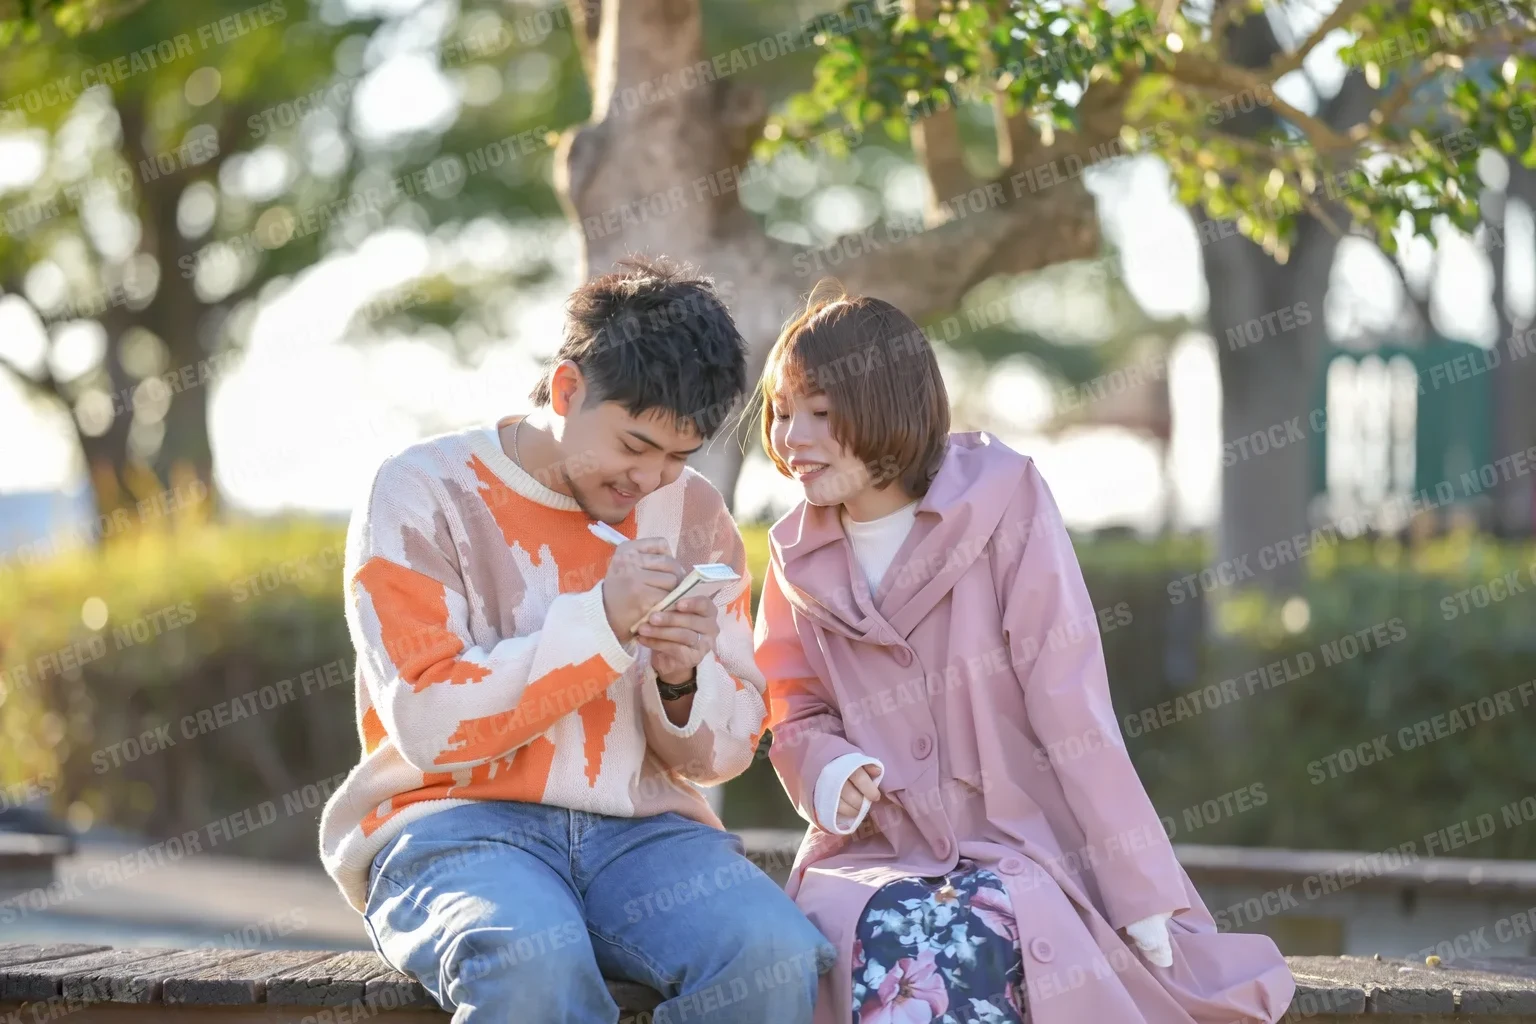
Agree with everyone on the signal to stop and move away, and when to start packing up. The group may not be able to move promptly if only the photographer understands the situation.
03 Mention shoes as well as clothing when planning for logos
Include footwear and belongings in the clothing brief
Before a shoot, I ask people to wear clothing without logos or characters. I place considerable importance on this. Even if we can shoot, needing to remove many logos afterward adds to the work before the images can be finished and submitted.
Even when the clothing request has been understood, however, shoes may still have logos. The same applies to hats, bags, phone cases, strollers, and similar items. The advance brief is clearer if it asks people to check belongings and footwear, rather than just saying “clothes without logos.”
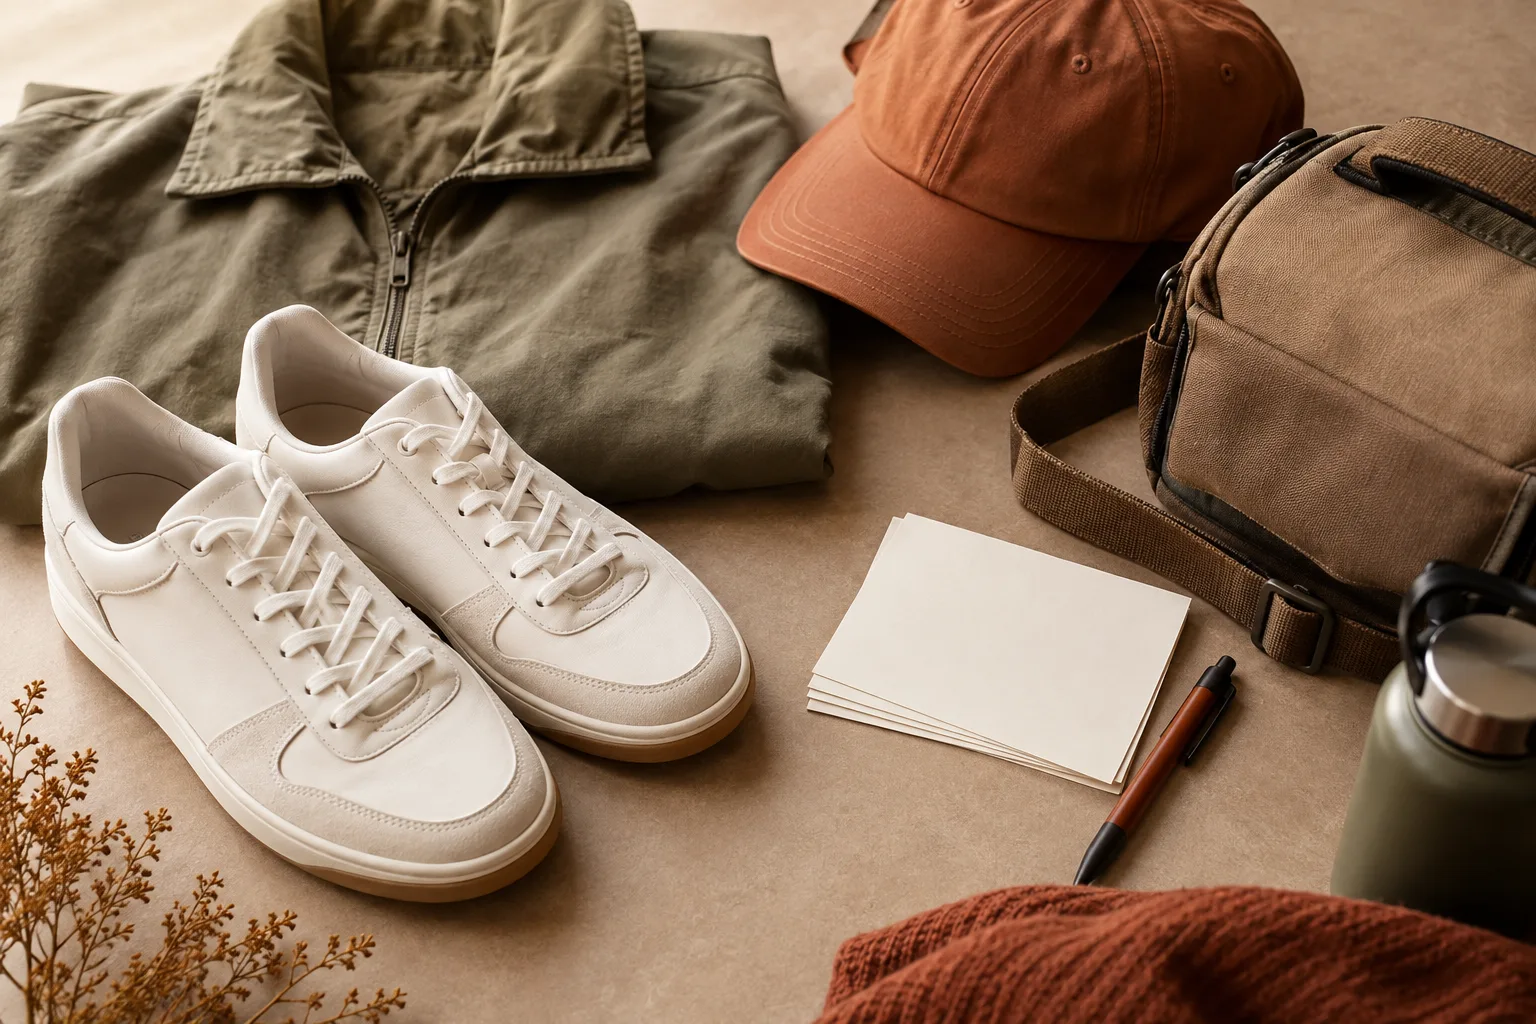
Choose the shots rather than relying on covering logos on the day
I once asked someone to cover a shoe logo with masking tape. In practice, it looked awkward. Covering logos with tape is therefore no longer my first solution. If I cannot show the shoes naturally, I may change to a composition that leaves the feet out.
Of course, some shots cannot be kept that way. If the purpose is to show feet walking, cutting them out changes the purpose. The more I want full-length views or walking scenes, the more useful it is to check clothing and shoes before the shoot.
Removing the logo itself does not necessarily solve everything. Adobe Stock's guidance also includes the appearance and design of products that identify a brand among the things to check. I look at shapes and patterns as well as lettering. Adobe Stock intellectual property guidance
Children may wear shoes featuring characters or brands. Providing plain shoes myself is one option, but it adds the burden of sizes, cost, and storage. I have bought shoes for a shoot that was canceled at the last minute, leaving them unused. Rather than buying everything on the photographer's side, I want to combine advance checks with choices about which shots to keep on the day.
04 Look at the small details around the main subject
Check the corners and reflections, not only the center
When I focus on clothing, I can overlook the background. Even if the person looks good, products on shelves, paintings, posters, signs, papers on a desk, or an open screen may still be visible.
I check all four corners and reflective surfaces such as windows and mirrors, not only the center. Names, addresses, contact details, vehicle registration numbers, and screen notifications may also remain in the finished image. Taking and checking a photograph of just the background is another way to reduce oversights.
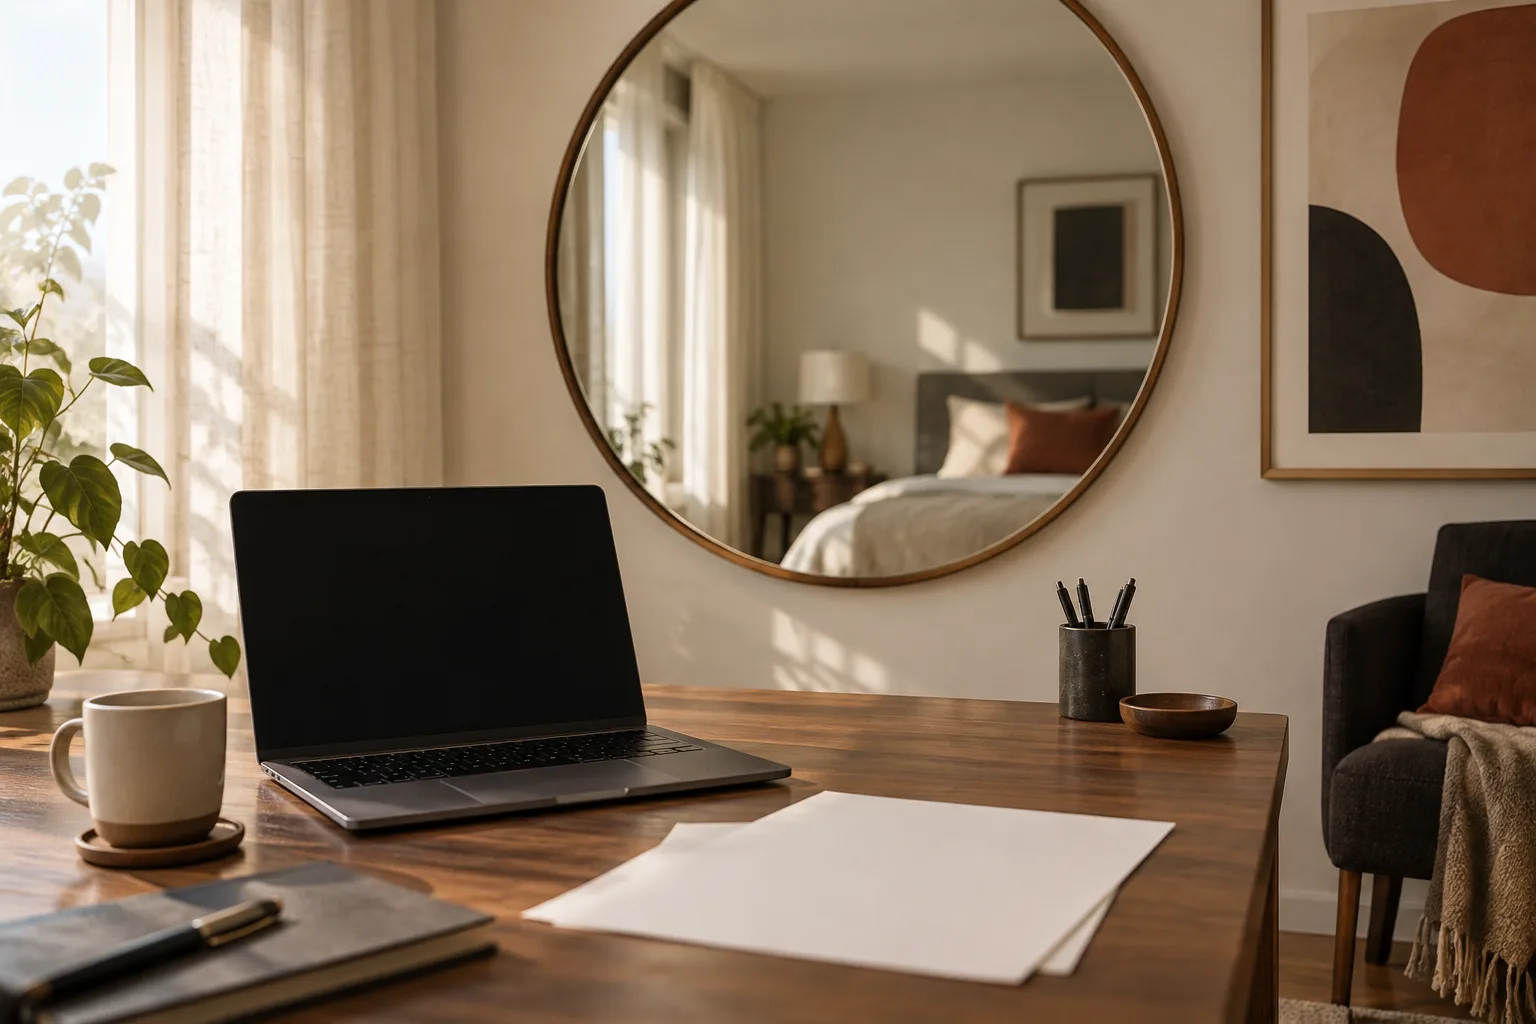
Here too, I first consider what I can do during the shoot: clear away our own props, turn off a screen, remove papers, or turn toward a plain surface. Rather than moving a facility's belongings without asking, I first establish whether they may be moved.
I avoid ending the assessment simply because something looks small in the photograph or is slightly blurred. Commercial stock requires checks for artworks and distinctive designs as well as logos. For a particular facility or artwork, I check the submission platform's conditions and the rights holder's guidance. If something remains unclear, I change to a composition that excludes it or hold the asset pending confirmation.
05 Choose timing and composition before waiting for everyone to disappear
Life continues at a location even during quiet hours
When I want to keep people out of the frame, changing the shooting time alone can sometimes make the job easier. Early morning is not always quiet, however.
When I went to Kanazawa's Higashi Chaya District early one morning, a rubbish collection truck was parked there for a while, so I changed my composition. Even when tourists are scarce, the neighborhood's work and daily life continue.
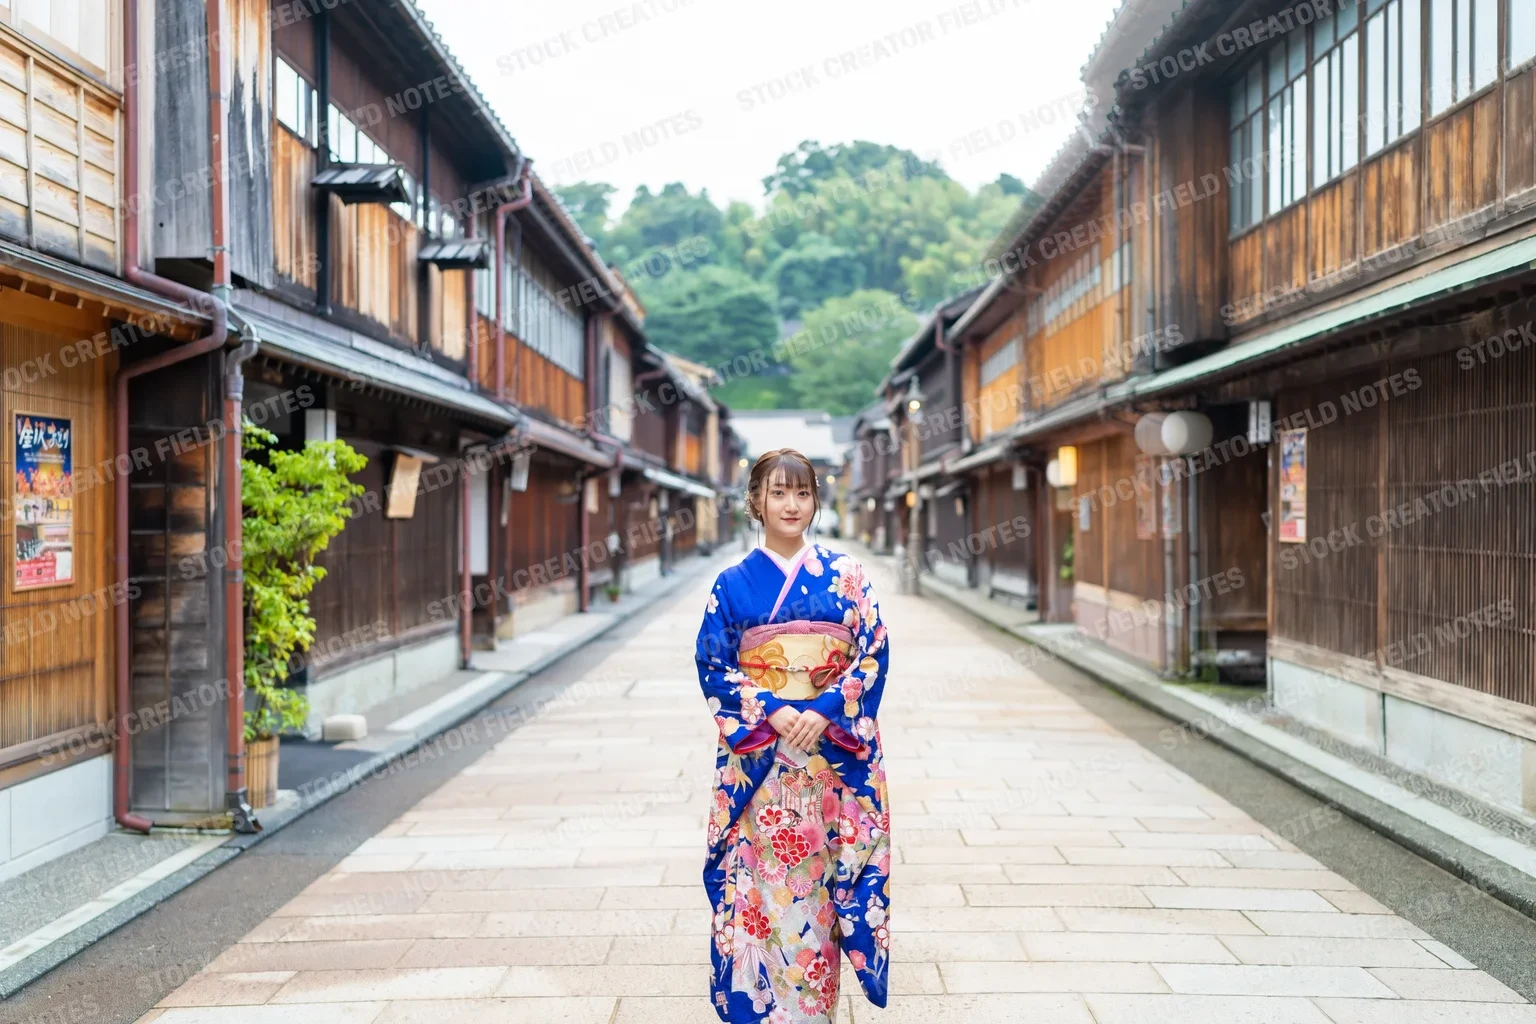
Be ready before the shooting opportunity arrives
So I consider alternative angles and nearby locations as well as choosing a time. How easy a place is to photograph changes with the day of the week, events, deliveries, cleaning, and other uses. I do not turn a time that worked once into a rule that always applies.
On location, I spend a little time observing the flow of people. Some places have groups arriving after the traffic lights change, a train arrives, or a tour group passes, followed by a brief gap. Rather than working out settings once the space is clear, I prepare the composition and exposure first and wait ready to shoot when the opportunity comes.
If people continue entering the frame, I try changing my position, height, or direction. Placing an entrance where people appear near the edge of the frame can help me notice them sooner. If leaving the entrance out produces a cleaner shot, I choose that instead.
Using buildings or planting as a background, or moving closer to change the area shown, are other options. But I take care not to cut away all the space and atmosphere until it becomes unclear what the photograph is meant to show.
Season, weather, school activity and parking traffic can change how busy a location is, as well as the day and hour. Observing that it is quiet does not establish permission.
06 Decide whether to keep background people and how they overlap
A hidden face is not the same as an unidentifiable person
I do not remove or blur everyone simply because they are in the background. Sometimes I leave background people in when their faces cannot be made out.
That describes my usual processing, however. Under submission conditions, “the face is not visible” and “the person cannot be identified” are not the same thing. Adobe Stock states that release checks are also needed when distinctive clothing, tattoos, a voice, surrounding information, or similar details make someone identifiable. That check still applies to people seen from behind and those in the background. Adobe Stock model release requirements
When I want someone out of the composition, I first change my own position. If a background person is far away, I may find an angle that hides them completely behind the main subject's body. Even then, I do not assume that partly hiding someone removes the need for consent; I check the image that actually remains.
If editing later, protect the main subject's outline
If I cannot hide a background person completely, I at least look for a position where they do not overlap the main subject's outline. If they overlap hair, a face, or the edge of clothing, removing them later also requires repairing the outline of the subject I want to keep.
Corrections near hair in particular can take substantial work if fine shapes and texture are to be preserved. I keep people or objects I might later remove away from the main subject's complex outline. That is another reason to move a little sideways and change the relationship with the background.
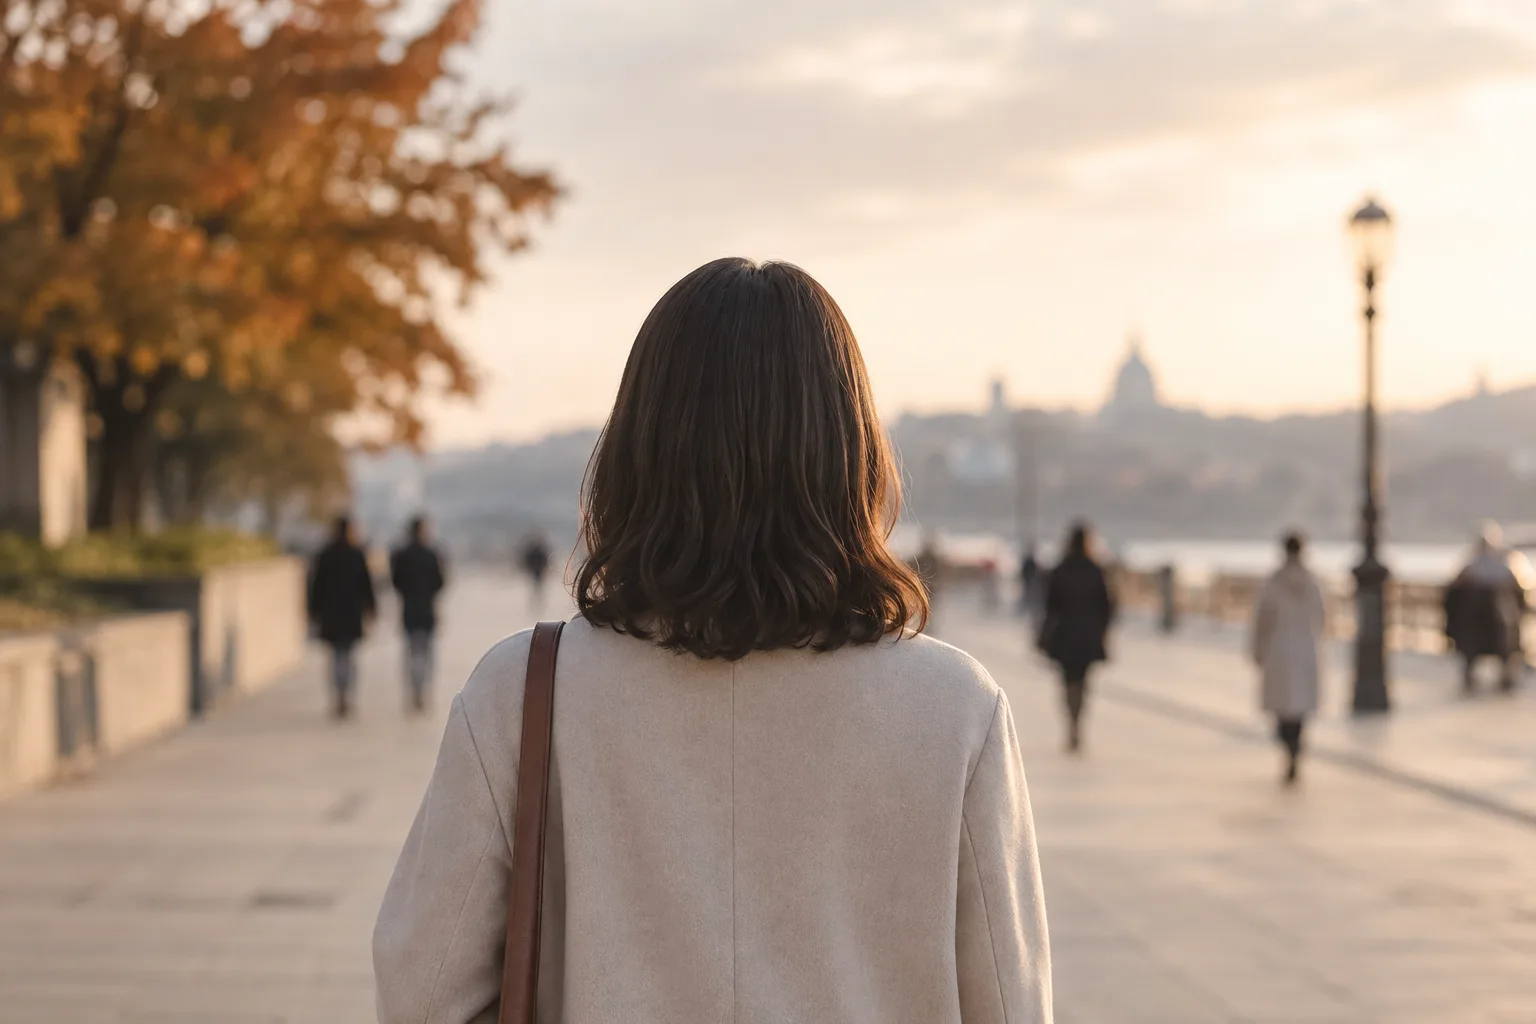
A background person
overlaps the hair or facial outline
Keep background people
clear of the main subject's outline
07 Avoid problems in video before they happen, even when they could be fixed in a photo
Choose photographs with the finishing workload in mind
My photo finishing focuses on exposure, color, and contrast. If a logo remains, I sometimes try AI removal. If that does not work, I crop. If the resulting composition still is not useful, I do not keep that photograph.
If a logo overlaps hair or something else that makes correction difficult, I do not force the edit. I ask for removable items to be taken off during the shoot, or leave out that shot. Because I want to increase the number of usable photographs, I try not to spend too much time rescuing just one image.
AI removal does not mean any kind of edit can be submitted under the same conditions. For example, Adobe Stock's guidance on generative AI labeling distinguishes generation that adds or changes the main subject from logo removal and minor retouching. That is Adobe's guidance; I do not automatically apply it to other companies, but check each submission platform's rules. Adobe Stock generative AI content guidance
Check what enters the frame after movement begins in video
With video, I give even greater priority to dealing with problems during the shoot. A shoe logo may appear only during a step, lettering may emerge from a fold in clothing, or a camera move may bring a sign into view. Something hidden while everyone is still may not remain hidden until the end of the clip.
This does not mean video can never be corrected. My aim is to get closer to something I can submit without laborious work afterward. I check clothing and backgrounds in motion too. If a problem may enter the frame, I wait, turn, change the field of view, or shoot again. I choose the solution I can make on location.
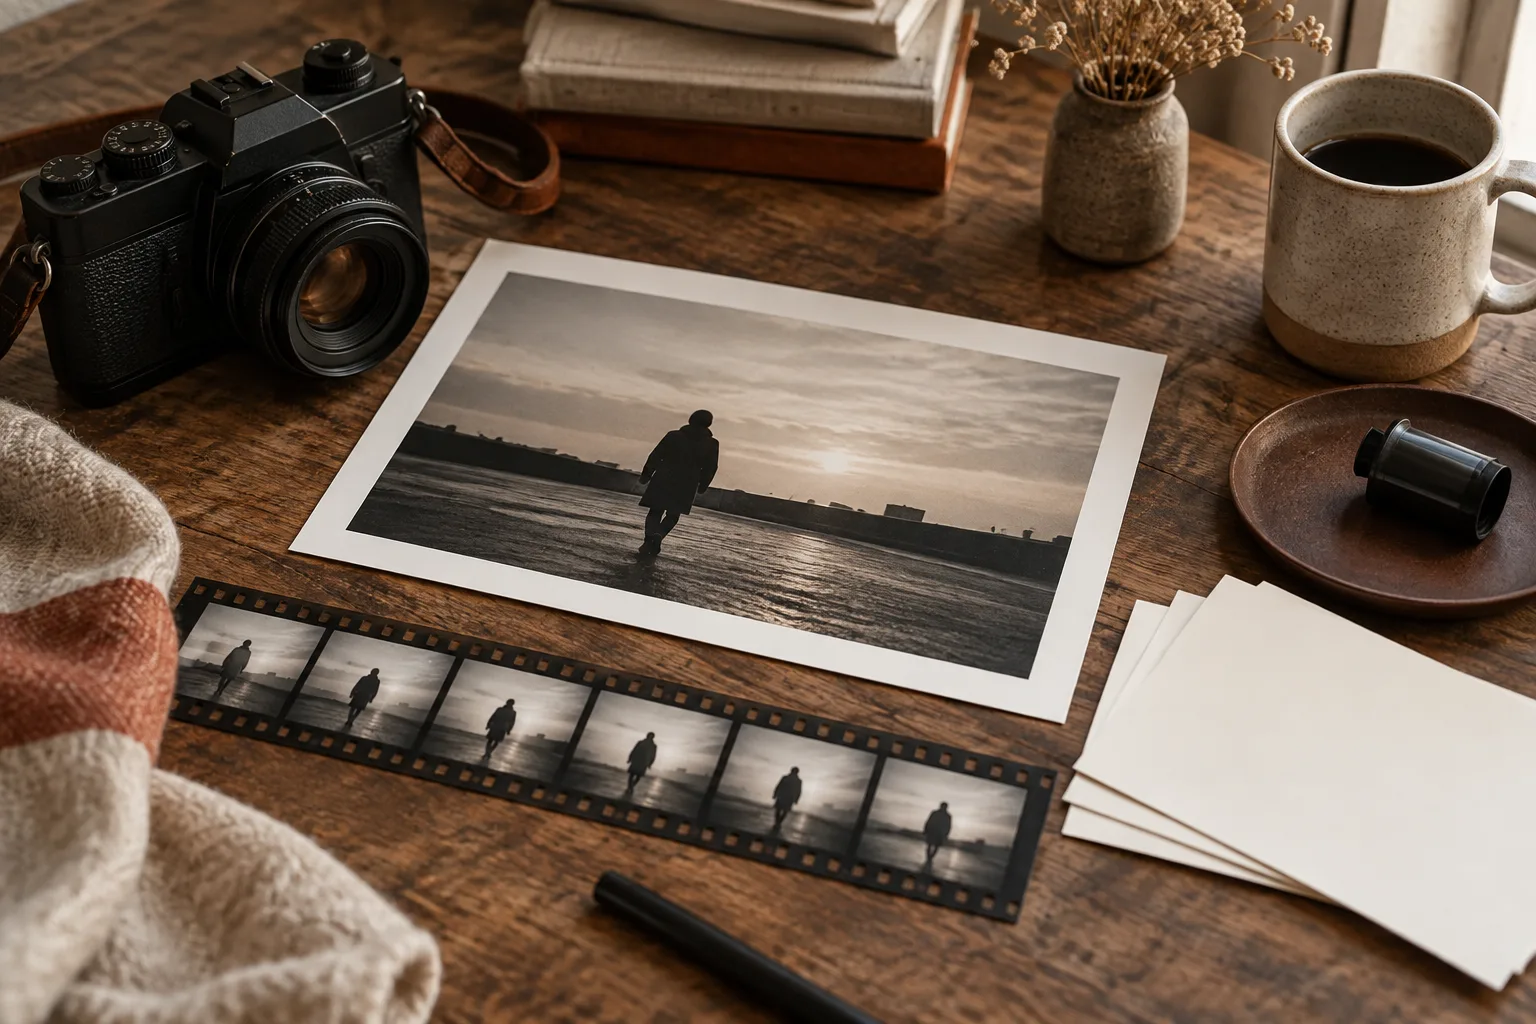
Photograph Enlarge the image and check logos and outlines
Video Play from beginning to end and check what appears during movement
08 After shooting, choose usable shots and move forward
Review, then finish, reshoot, or hold
Care on location does not eliminate every oversight. I enlarge photographs and play videos from beginning to end. I look for lettering that was unclear in a small preview, and people, signs, or reflections that enter only partway through.
I keep the response straightforward. Finish what can be used with a small correction. Reshoot if doing so on location is quicker. Do not force the use of a shot when cropping ruins the composition or removal is difficult. Hold anything with unclear permission or rights until it can be confirmed.
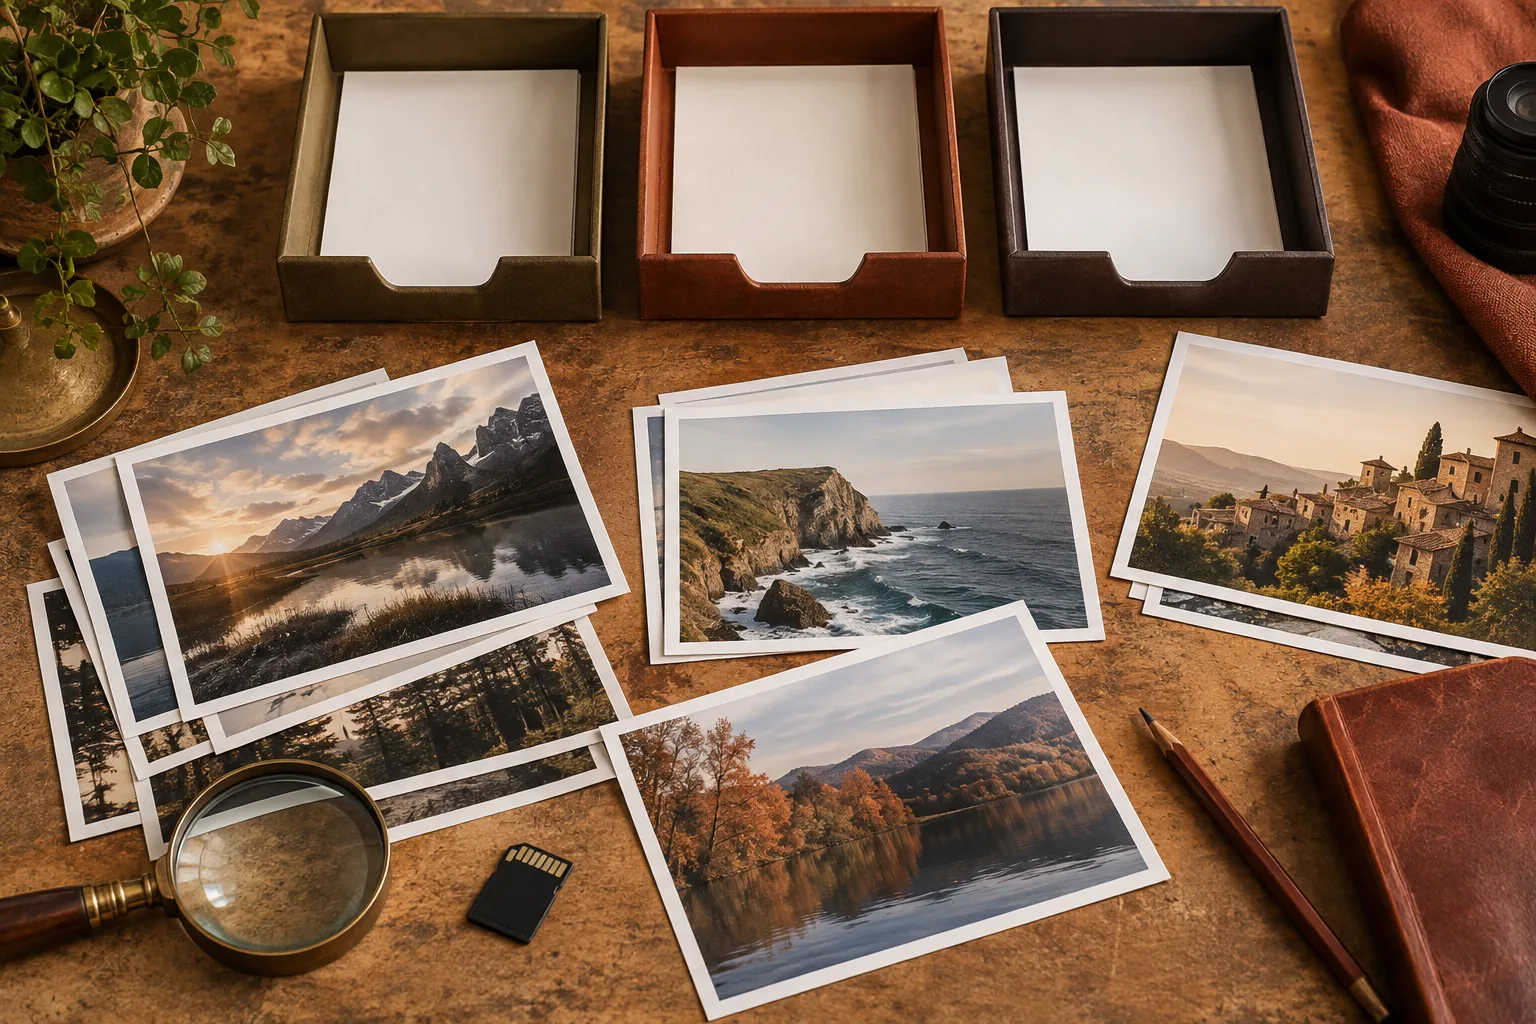
After checking permission, I record what was checked and who checked it, linked to an identifier for the relevant shoot or asset, such as the shooting date or asset number. I separate problematic assets so it is clear what confirmation is pending. I do not include personal information that does not need to be made public in these records.
While making corrections, I keep a way to return to the original state and avoid confusing work in progress with the finished submission file. Long-term retention is a separate decision that also involves capacity and the likelihood of reuse.
When I say I prioritize quantity, I do not mean submitting everything, including assets with known problems. I mean excluding obvious failures and unusable shots, then finishing and adding work that is sufficiently usable without polishing it excessively.
Check the location and clothing before the shoot. On location, arrange clear routes, backgrounds, and timing. Afterward, complete the necessary checks and finishing, then move on to submission. With that flow in place, more time can go toward the next usable shot instead of being consumed by post-production.
Checks before and after a shoot
- Before the shoot: Location rules and required permission; logos on clothing, shoes, and props; alternative compositions and locations
- On arrival: Routes people use; places for equipment, waiting, and moving out of the way; backgrounds, screens, and reflections
- During the shoot: Overlap between the main subject and background; what enters the frame in motion; the impact on others and decisions to pause
- Finishing and leaving: Enlarged photo checks; reviewing the entire video; organizing permission records and held assets; checking for forgotten belongings and restoring the space
References for submission conditions appear in the text. Conditions differ by location and submission platform, so check the latest guidance when you actually shoot or submit.
Location shoot checklist
- Review section: Check permission to enter, photograph and license the material separately. ↗
- Review section: Keep passageways clear and agree on a stop-and-move signal with everyone. ↗
- Review section: Check clothing, shoes and belongings for logos in advance. ↗
- Review section: Check corners, reflections, shelves, screens and personal information in the background. ↗
- Review section: For video, check what enters the frame after movement begins. ↗
- Review section: Inspect photos enlarged and watch the entire video, then record whether to finish, reshoot or hold, and why. ↗
Use the checks as a working note while this page is open.