01Separate locked-off shots from shots with camera movement
First, decide what movement you want to keep in the finished video. Will you film a product or hands at work with the same composition? Walk alongside a person? Keep a little of the handheld feel? Choose the support to suit that purpose.
For video with a fixed composition, consider a tripod early on. It makes it easier to control not only fine vibration but also changes in height, level, and framing as filming continues. It also helps match the composition when repeating the same scene. Check in advance where you can set it up and what filming permission is required.
If you will move the camera, decide the route, speed, and stopping position, then make a short test. A gimbal is one option, but there is no need to add equipment from the outset. When considering used or older models, check that they support your camera and lens and can repeat the movements you need.
02The roles of handheld shooting, tripods, gimbals, and stabilization
Lens-based stabilization moves components inside the lens, while in-body stabilization moves the sensor to reduce shake. Electronic stabilization crops part of the image and adjusts its position. A gimbal controls the orientation of the whole camera. A tripod supports the camera’s position, while a monopod adds support while retaining some freedom to move.
These methods do different jobs. Stronger stabilization does not necessarily lock the composition, and even a gimbal may leave the vertical movement caused by walking. Electronic stabilization may narrow the angle of view or cause unnatural movement at the edges of the frame.
Check using the lens, focal length, resolution, fps, and firmware you will use for the shoot. Follow the equipment’s instruction manual for stabilization settings when using a tripod. For example, the Sony α6700’s video SteadyShot instructions advise switching stabilization off when using a tripod. Do not apply that example to every camera; test settings that follow your own manual.
A gimbal also adds weight, setup time, batteries, and balancing work. How zooming changes the center of gravity and whether rebalancing is needed depend on the lens and equipment combination. Do not assume every zoom lens must always be rebalanced; check at the focal lengths you will actually use. Also check whether you can reach the controls and whether cables obstruct movement.
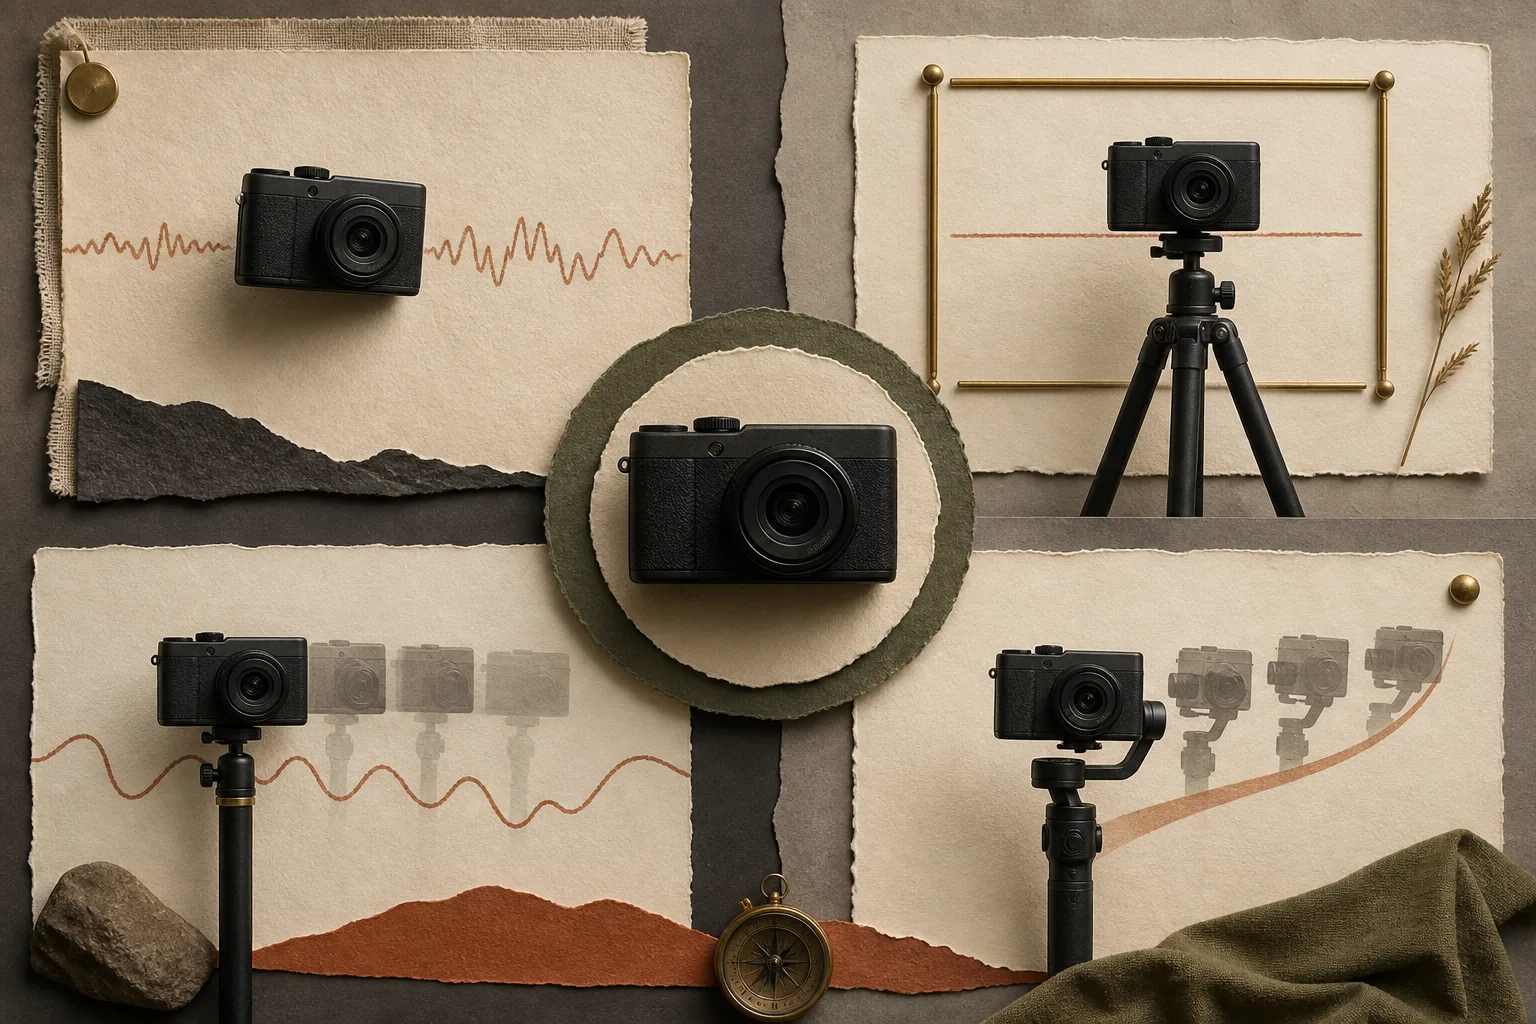
Where the manual permits it, compare stabilization on and off with the actual camera, lens and support. Follow any instruction to switch it off on a tripod. Combined stabilization can help or produce unnatural movement; also check whether electronic stabilization changes the crop or available resolution.
03Test focus, distortion, and unintended movement
Check not only whether focus locks once but also how it recovers after losing the subject. Film a person approaching, moving away, crossing the frame, turning away, and leaving and re-entering the frame. Use lighting and a background close to the actual shoot. Watch whether focus remains on the background, hunts back and forth, or jumps abruptly when it returns.
If focusing manually, test magnification, peaking, monitor delay, the lens’s response, and operation while recording. Also check whether adjusting focus makes you shake the camera.
When straight lines such as pillars appear slanted as you pan sideways, that is something to check for rolling shutter. The camera or subject moves while the sensor is read sequentially, so different parts of the frame record slightly different moments. Resolution figures alone do not tell you how movement will distort the image.
Place vertical lines such as door frames or pillars in several parts of the frame, then repeat slow, normal-speed, and faster pans. Next, lock the camera in place and have only the subject move across the frame. This lets you examine camera movement and subject movement separately. Keep the lens and camera position the same when comparing recording settings.
Using stabilization does not make the entire sensor read out at the same instant. Also film the start of a walk, stops, direction changes, and steps, checking the center and all four corners. If problems occur with the movement you want, consider changes during shooting: try another recording setting, slow the pan, use a wider angle of view, or lock the composition. Changing the angle of view also changes perspective or the distance to the subject.
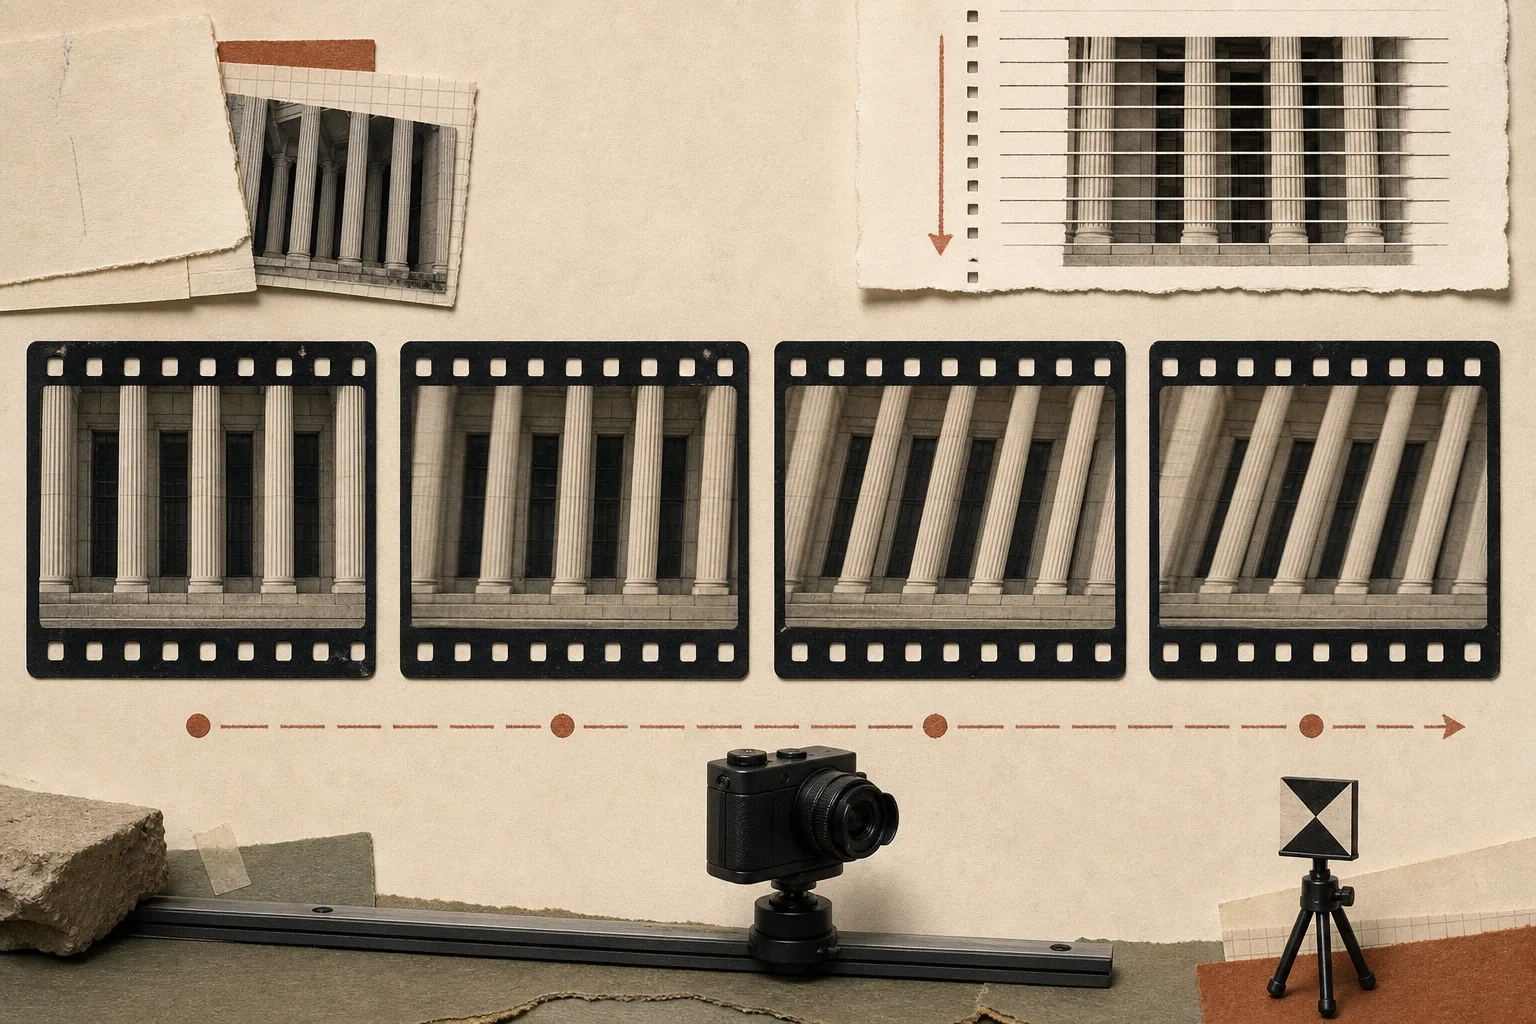
Do not assume a 4K 24 fps result applies to 4K 60 fps. Check relevant scenes too, including telephoto shots, rotating subjects, flashes and fine vibration. Reducing shake does not change the sensor’s readout time.
04Check continuous recording, cards, heat, and power with the actual setup
A successful short test does not guarantee that you can record for the planned duration. Record the resolution, fps, compression format, bit depth, image-quality setting, lens, stabilization, audio, card, and power source, then film with the same combination as the actual shoot. Settings may change the angle of view or available functions.
Record for close to the planned length of a shot or recording session, checking temperature warnings, stops, changes in settings, battery drain, and remaining card capacity. If recording stops, also record how long it takes before you can resume. Note the test conditions, including ambient temperature, screen orientation, and external output. Do not treat continuous recording times as identical across camera models.
Connect and test everything you need, including the microphone, headphones, external monitor, USB power supply, and external recorder. Check more than the presence of ports: after connection, see whether the camera’s recording settings change, whether unwanted overlays appear in the video, and whether you can monitor audio and brightness.
Include cable direction, interference with port covers, and ways to secure connections without excessive strain in your checks. Test timecode and a second card where supported, but this does not mean all that equipment is necessary. The aim is to run the entire setup you need for the shoot.
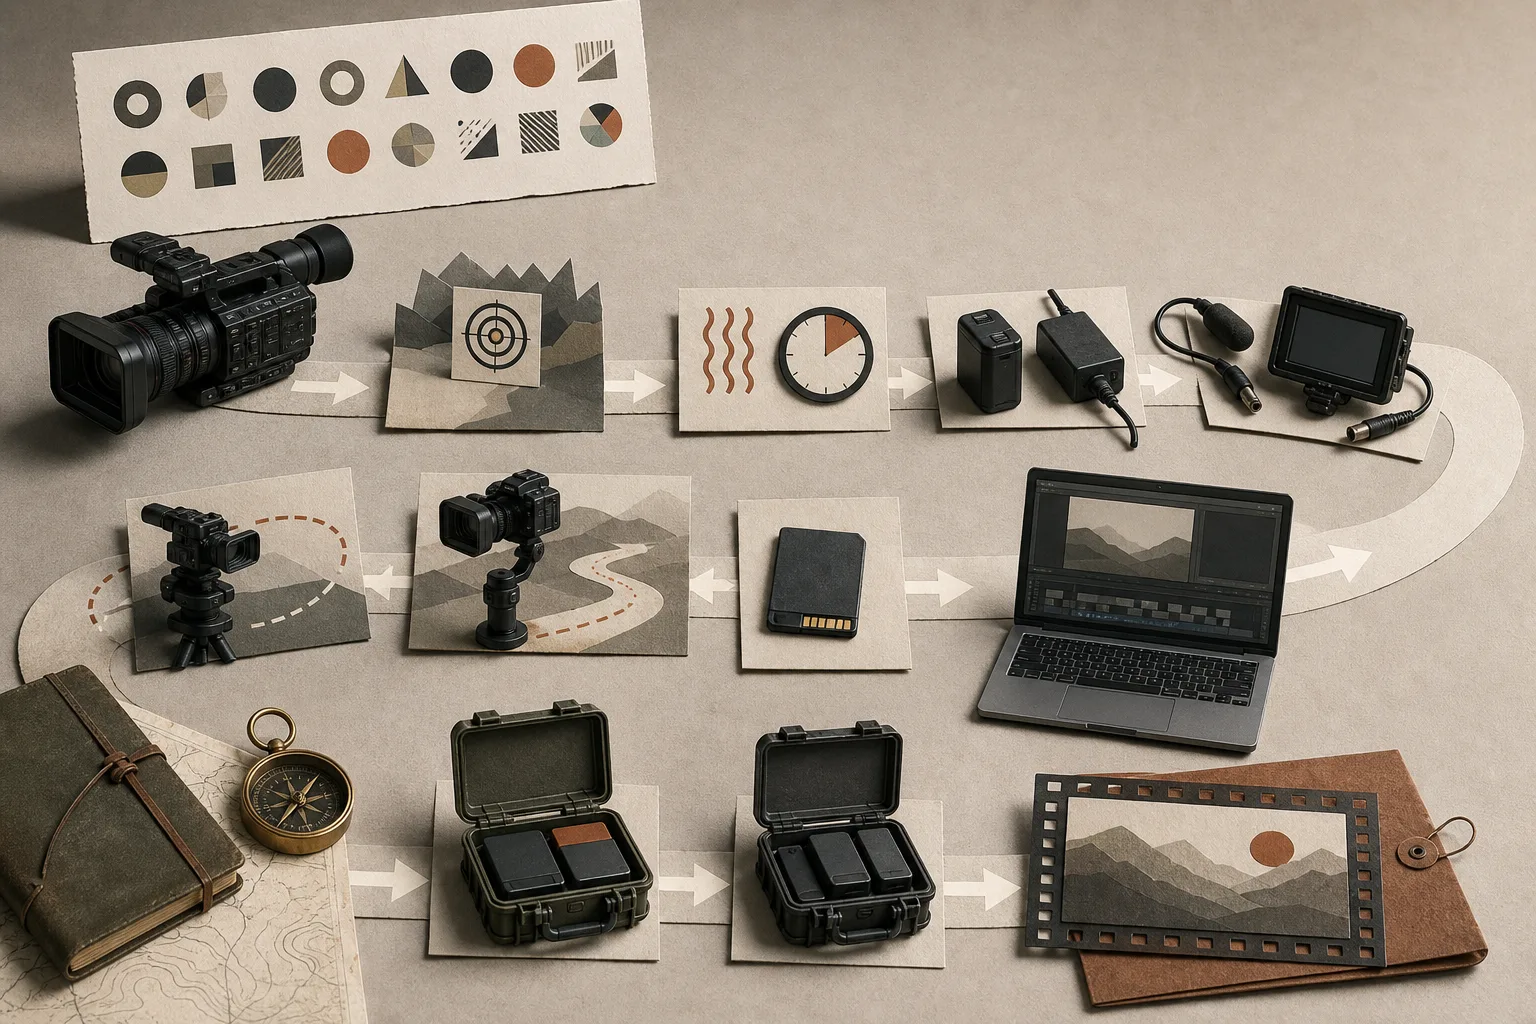
On some cameras, selecting a mode such as 4K 60 fps changes not only crop but also compression, bit depth, autofocus or stabilization availability. Test the settings together rather than checking one specification in isolation.
05Make the shot usable from the beginning of recording to the end
Searching for the composition again or making unnecessary direction changes while recording shortens the usable portion. Before recording, check the start position, movement route, and end position, and make sure you can repeat the required movement.
Play back and check everything, including the movement of pressing the record button, starting to walk, and coming to a stop. Even if the middle is smooth, shake or abrupt stabilization at the beginning and end prevents the shot from being used as it is. Watch the entire video for gradual drift in level, focus, angle of view, and composition as well.
If a problem is distracting in the finished video, review support and operation before hiding it in editing. At the same time, there is no need to reject every video based on a single paused frame. Judge whether it looks as intended at the finished playback speed.
06Watch examples and your own exports at the final speed and size
Watch example footage on a large screen. YouTube is one way to check, but delivery compression means it cannot fully reveal the quality of the original file. Use examples to understand the movement, then test and confirm it with your own equipment.
Copy the footage to your computer using your usual method, and open it in the editing software you will actually use. Make the necessary color adjustments and export a short finished video in the format you will use for submission or delivery. Check playback smoothness, color, audio sync, file size, export time, and whether you need lightweight proxy files. When joining several clips, also check whether the movement of stabilization itself stands out.
Play the video from beginning to end at its final speed and screen size. Keep pausing and magnifying to investigate a cause separate from judging whether the footage works as a finished video. Shooting the same scene with less demanding settings and comparing the results makes it easier to weigh the required quality against the work of shooting and editing.
Finally, keep the short test video and the shooting conditions. Recording the camera, lens, focal length, stabilization, fps, resolution, camera movement, recording duration, and peripherals reduces the need to repeat the same checks from scratch at the next shoot.