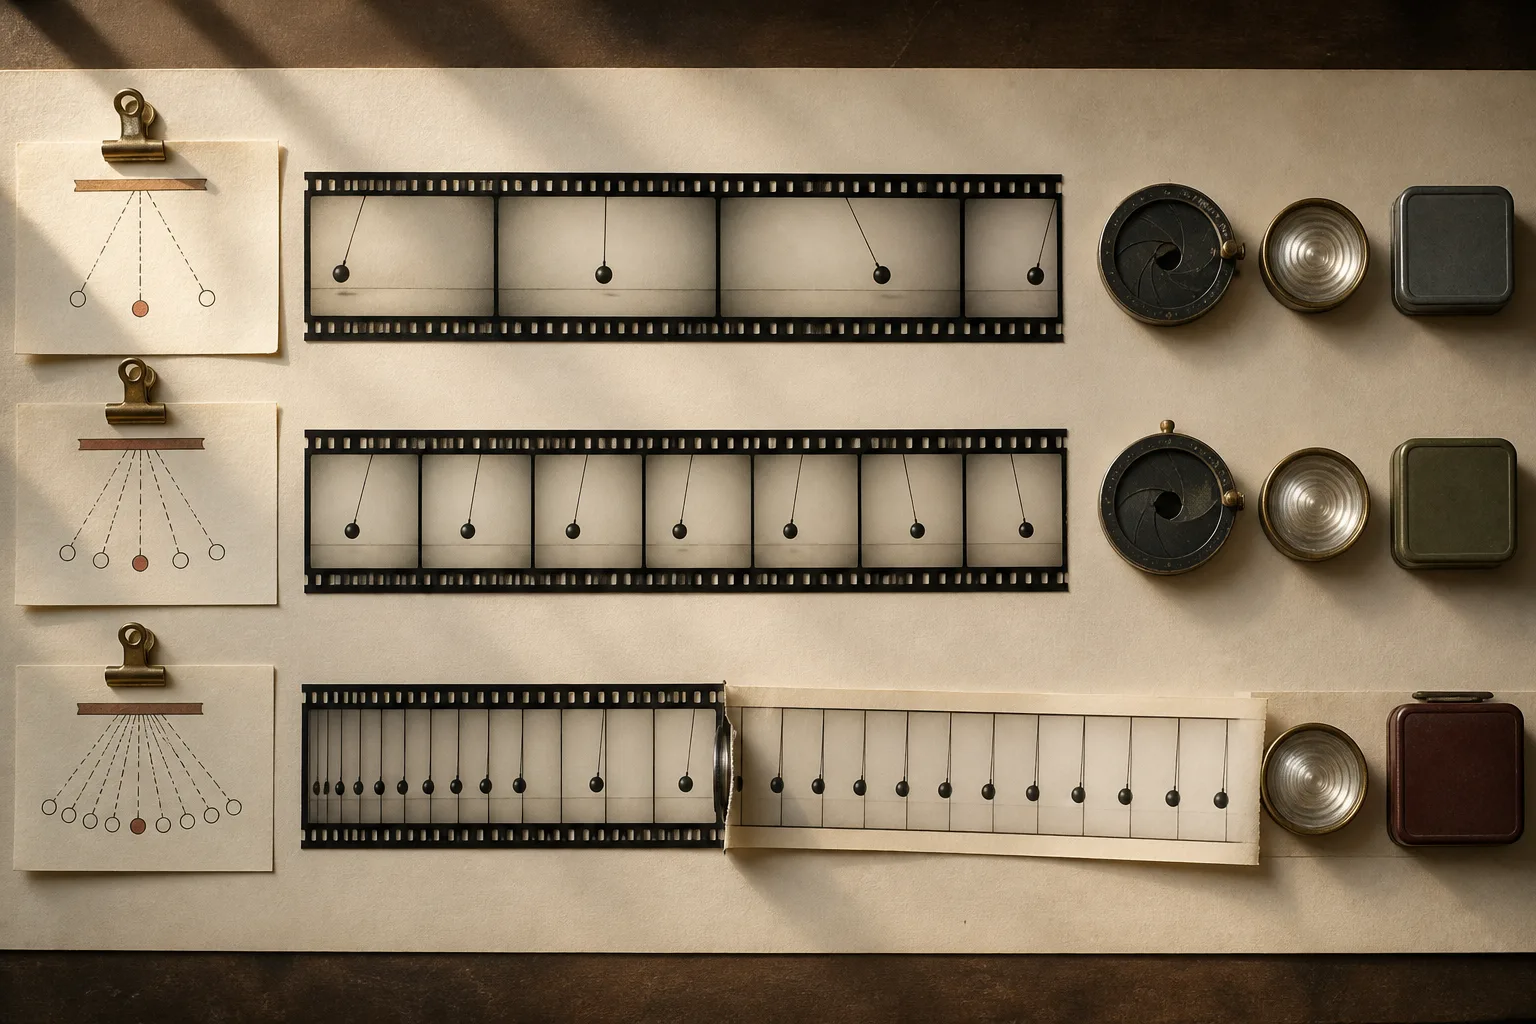
Frames per second describes time, not image size. More frames can make fast movement easier to follow or create smooth slow motion, but the setting also changes light, motion blur, data, and the way a buyer can use the clip.
Frame rate counts moments, not pixels.
A 4K frame has the same pixel dimensions whether the camera records 30 or 60 of them each second. Recording more frames captures movement at shorter intervals. That can help with sport, splashing water, moving vehicles, hand gestures, and other fast action.
It cannot rescue missed focus, poor light, weak composition, or an unsuitable shutter speed. “60 fps” is therefore not a general label for higher quality.
Capture rate and playback rate decide the speed.
A 60 fps clip played at 60 fps remains normal speed. When 60 captured frames are played on a 30 fps timeline, each recorded second occupies two seconds: half-speed slow motion. In the same way, 120 fps played at 30 fps becomes quarter-speed.
capture frame rate ÷ playback frame rate
60 ÷ 30 = 2× slower
120 ÷ 30 = 4× slower
Some cameras save high-frame-rate footage already slowed down and may omit audio. Others record normal-speed 60 or 120 fps with audio. Test the exact mode instead of assuming the file will behave one way.
More frames usually ask for more light.
A common starting point for natural-looking motion blur is a shutter speed close to twice the frame rate: about 1/60 second for 30 fps and 1/120 for 60 fps. Moving from 1/60 to 1/120 lets in half as much light.
The camera may compensate with a wider aperture or higher ISO, which can reduce depth of field or increase noise. In low light, clean 30 fps footage can be more useful than noisy 60 fps footage.
Artificial light can change the decision.
Lamps, signs, and screens can pulse at a frequency the eye does not notice. A mismatched frame rate or shutter speed may reveal flicker or moving bands. Electrical frequency also differs by region; Japan itself includes both 50 Hz and 60 Hz areas.
Record a short test under the actual lights and inspect it at full size. Use the camera’s flicker-reduction or fine shutter adjustment when available. A technically fashionable setting is not useful if the light produces visible bands.
More frames do not reveal how large the file will be.
File size depends on bitrate, codec, bit depth, color sampling, resolution, and recording duration as well as frame rate. A camera may raise the bitrate for 60 fps, or it may keep a similar bitrate and allocate less data to each frame.
Read the bitrate for the exact recording mode, then run the one-minute workflow test. Do not estimate storage from frame rate alone.
Choose the buyer’s useful motion first.
For an action that should look natural at normal speed, record at the intended delivery frame rate. When the subject benefits from slow motion, capture a separate higher-frame-rate version if light, card capacity, and production time allow.
Before submitting, confirm the destination’s current frame-rate and file requirements. Label and preview the exported clip correctly so the buyer receives the speed you intended.
Choose 60 fps because the motion needs it—not because the number is larger.
Before pressing record
- Decide whether the clip should be normal speed or slow motion
- Choose capture and playback frame rates together
- Set shutter speed and confirm there is enough light
- Check artificial lights for flicker or bands
- Test the exact mode from recording through export