At a glance
- Choose shutter speed for the amount of motion blur in each frame.
- Adjust light, aperture, and ISO together when the image gets dark.
- Use mains frequency as a starting point; do not treat 1/120 and 1/125 second as interchangeable.
Once you have chosen the frame rate, check the motion you want and the brightness you need. Turning up the numbers in the settings screen does not improve everything. Use short test recordings to spot differences such as a darker picture indoors or flickering lights. Recording capacity is covered in a separate article.
fps and shutter speed are separate settings
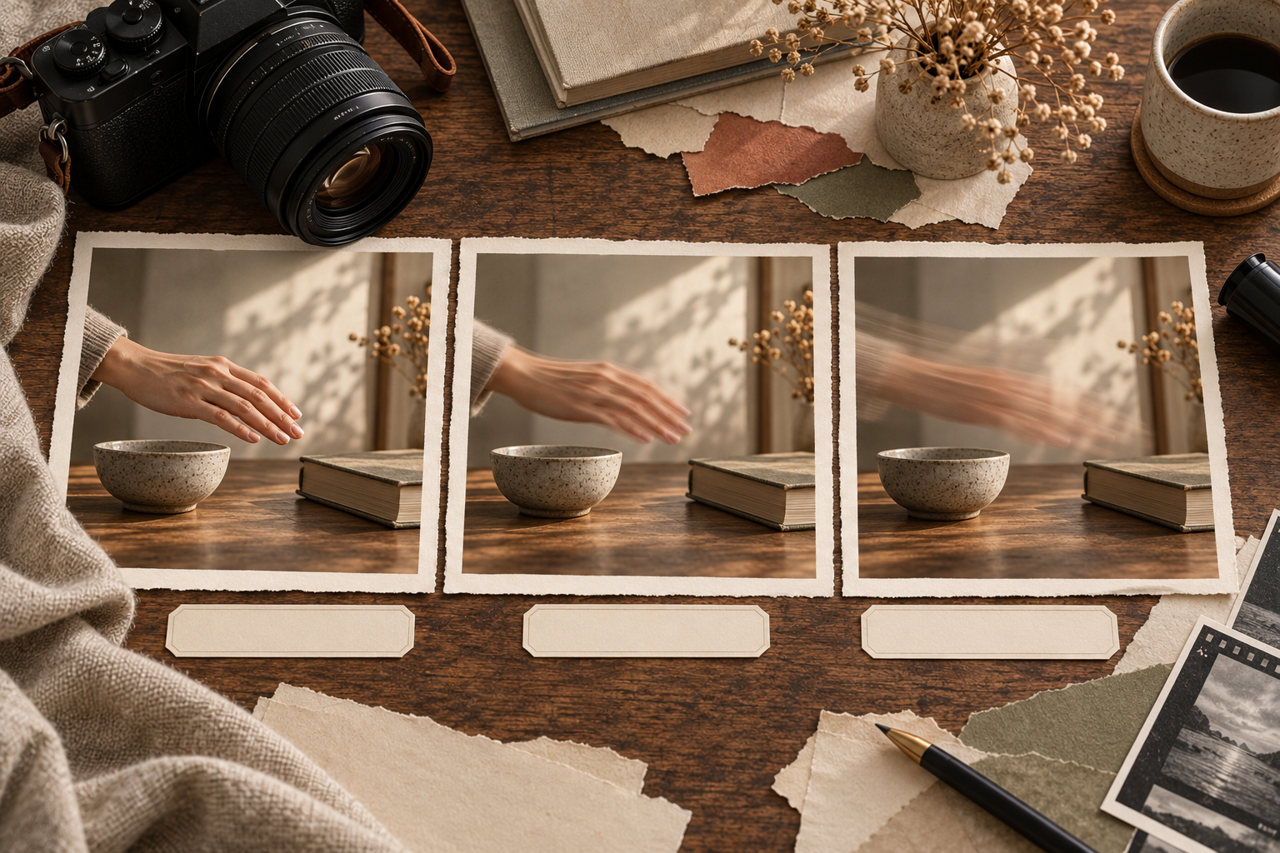
fps is the number of frames in 1 second. Shutter speed determines how long movement is captured in 1 frame. This period of taking in light is called exposure time. Think separately about the setting that determines the number of frames and the setting that determines how motion appears in each frame.
Change shutter speed according to how much motion blur you want to show. The movement you want to retain differs between filming tableware or a book with both camera and subject stationary and filming moving hands. These are starting points when recording at 30p.
This table scrolls horizontally. Swipe left or right, or focus the table and use the Left Arrow, Right Arrow, Home, and End keys to move through it.
| Subject or intended appearance | Starting shutter speed | What to check |
|---|---|---|
| Keep the camera, tableware, and book stationary | 1/60 second | Camera shake, brightness, and lighting flicker |
| Freeze a moving hand sharply | 1/250–1/500 second | Detail in the hand and how staccato the motion looks |
| Retain natural hand movement at 30p | 1/60 second | A little motion blur remaining in each frame |
| Leave a longer trail from the hand | 1/30 second | The amount of hand blur and whether the tableware and book appear stationary |
Using roughly 2 times the recording fps as the denominator gives approximately 1/60 second at 30fps, 1/120 second at 60fps, and 1/240 second at 120fps. The camera's normal choices may instead be 1/125 or 1/250 second, but these are approximations for the amount of motion blur. Treat 1/120 and 1/125 second separately when matching the flicker of lighting. The video specifications for my α1 give a manual shutter-speed range of 1/8000–1/4 second, but check the recording mode and fps for the values you can actually select.
Changing from 1/60 to 1/120 second halves the time spent taking in light. With the same lighting, aperture, and ISO sensitivity, the camera receives half as much light and the picture becomes darker. When shortening the time to 1/250–1/500 second to freeze a hand, also provide the brightness you need by adding light to the hands or moving somewhere brighter.
If it gets dark, adjust light, aperture, and ISO
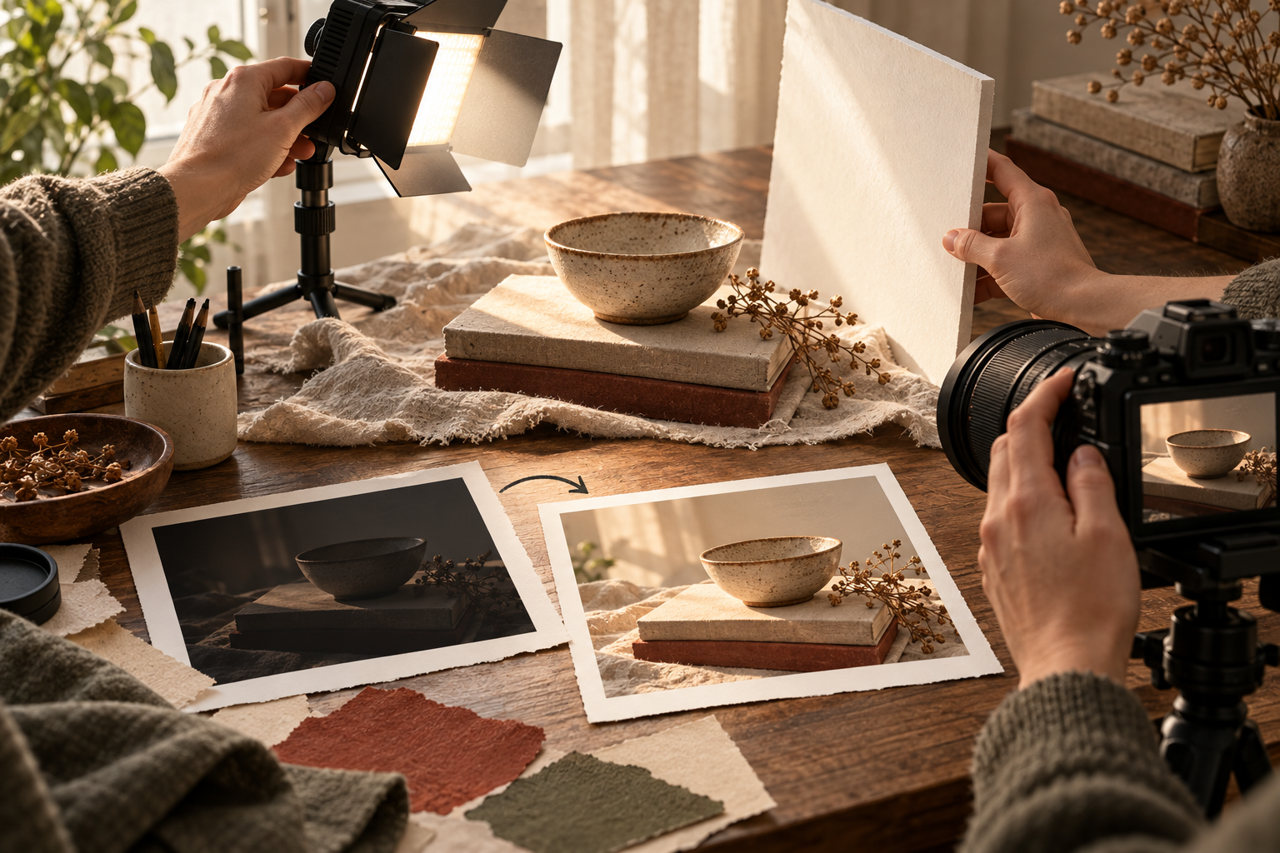
Especially indoors, you may need to add lighting, move somewhere brighter, open the aperture, or increase ISO sensitivity. The aperture controls how much light passes through the lens. Opening it makes the picture brighter, but narrows the range that appears in focus.
Raising ISO sensitivity makes it easier to brighten the picture, but fine grain called noise may become noticeable. Rather than insisting on low ISO and blurring movement that needs to stay clear, adjust the lighting as well and check the recorded footage. Aperture and ISO are also explained in the related article “Consider Aperture, Shutter Speed, and ISO Together”.
Check flicker in the recorded footage
Fluorescent lights, LED lighting, and screens can cause the brightness in a video to change or horizontal bands to appear. This is called flicker. First record a short clip and play it back; do not judge only from the screen before recording.
My α1 has a function called Var. Shutter that allows fine adjustment of shutter speed in video too. The official guide for the original α1, for Ver.2 and later, requires a mode in which shutter speed can be adjusted manually. In contrast, Anti-flicker Shoot. is for still images and cannot be used for video. These are different functions despite their similar names. Your camera may not have the same functions, so check its manual and recording mode.
Start with the mains frequency of the region where you are filming
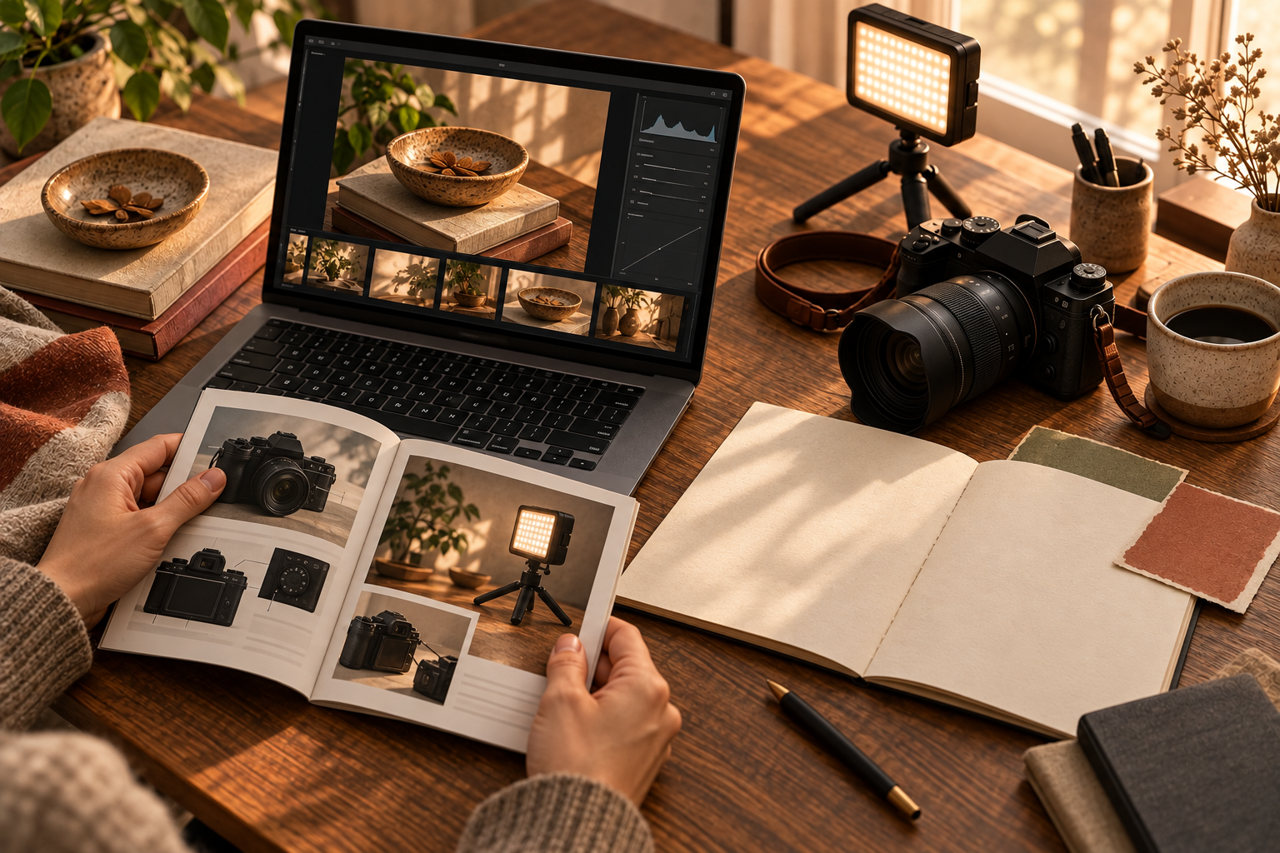
The local mains frequency is another clue when considering the flicker of lighting. In Japan, eastern Japan uses 50Hz and western Japan uses 60Hz. Looking at representative examples overseas also helps you choose shutter speeds to test when traveling.
This table scrolls horizontally. Swipe left or right, or focus the table and use the Left Arrow, Right Arrow, Home, and End keys to move through it.
| Mains frequency | Representative countries and regions | Starting points for test recordings |
|---|---|---|
| 50Hz | Eastern Japan, United Kingdom, France, Germany, Italy, Spain, China, India, Thailand, Singapore, Australia | 1/50 or 1/100 second |
| 60Hz | Western Japan, United States, Canada, Mexico, South Korea, Taiwan, Philippines, Brazil | 1/60 or 1/120 second |
Record a short clip using values suited to the region, then play it back to look for brightness changes and horizontal bands. When testing 1/120 second under 60Hz lighting, do not simply substitute 1/125 second even if that is a normal menu option. Check whether you can set 1/120 second using Var. Shutter or a similar function, and adjust based on the recorded footage. For light sources that flicker at a cycle different from the mains frequency, such as dimmed LEDs, test again while making fine adjustments with Var. Shutter. Check which shutter speeds are available at the recording fps, and combine this with changing the lighting or screen settings, light source, or location.
Sunlight is my favorite light to shoot in. For flicker that remains after recording, I also use tools such as the deflicker function in DaVinci Resolve Studio, checking the supported edition and the exported result.
References
Consider Aperture, Shutter Speed, and ISO Together (Field Notes)
Sony / α1 Anti-flicker Shoot. and Var. Shutter (opens in a new tab)
Blackmagic Design / Resolve FX in DaVinci Resolve Studio (opens in a new tab)
Sony / Getting started with α video: camera settings (opens in a new tab)
Sony / α1 specifications (opens in a new tab)
Checklist for this article
Use the checks as a working note while this page is open.