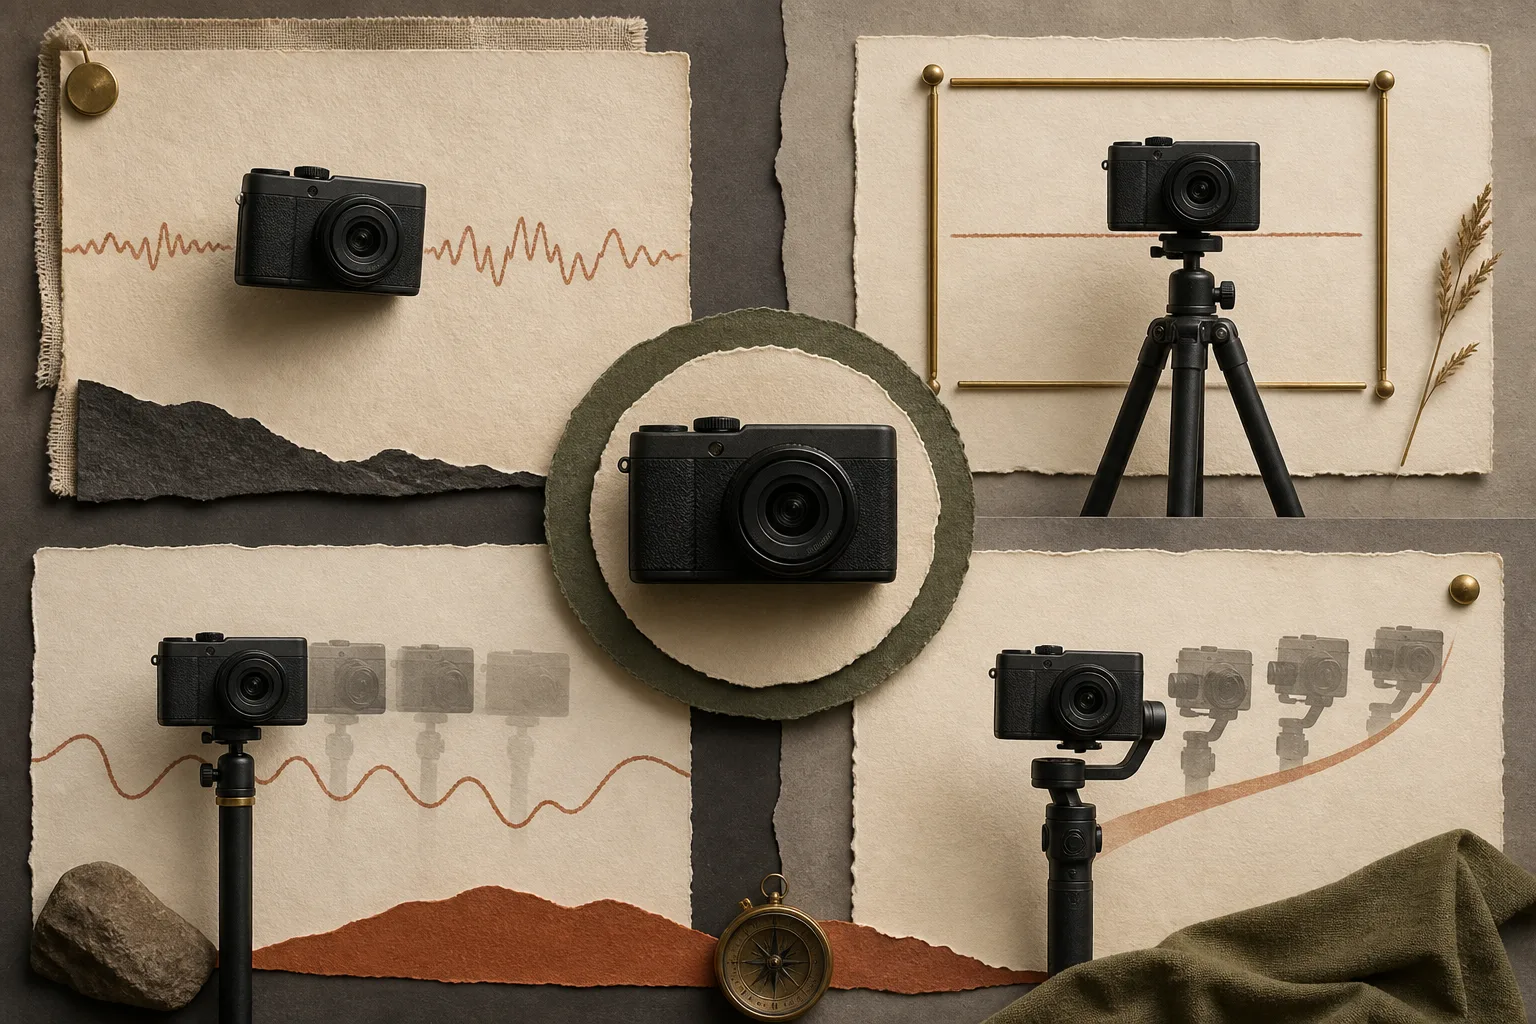
In-body, optical, electronic, and external stabilization solve different parts of the same problem. The useful question is not whether a camera has stabilization. It is which movement the shot should preserve, which movement should disappear, and what the selected system changes while doing that work.
Define the intended movement first.
A locked product shot, a slow handheld portrait, a walking follow shot, and a long-lens detail do not need the same kind of stability. Before choosing a setting or support, describe the finished movement: fixed, gently alive, smoothly travelling, or deliberately reactive.
Without that decision, stronger stabilization can become the goal even when it makes the shot feel delayed or artificial. Stability is successful when the remaining movement looks intentional and the composition stays useful.
Each system corrects a different motion.
Lens stabilization usually moves optical elements. In-body stabilization moves the sensor. Electronic stabilization adjusts the image digitally and often uses a crop. A gimbal changes the orientation of the complete camera, while a tripod or monopod supports its physical position.
These systems can work together, conflict, or change behavior with focal length and recording mode. Confirm the camera and lens instructions for compatible combinations, then test the exact firmware, lens, frame rate, resolution, and crop planned for the shoot.
A tripod solves more than visible shake.
A tripod can keep framing, horizon, height, and camera position consistent across a long take or a series of matching clips. Stabilization inside a camera may reduce vibration, but it does not prevent the operator from slowly changing the composition.
On stable support, some camera and lens combinations detect the static position correctly; others may drift or make small corrections that are visible in the image. Follow the current instructions for the equipment and compare stabilization on and off before the real take.
Walking exposes the limits quickly.
Record starts, stops, turns, changes of pace, steps, and a subject moving closer to the lens. Watch the center and the frame edges. A clip can look calm in the middle while corners stretch, wobble, or snap when digital correction reaches its limit.
Repeat with the intended focal length and camera posture. Wider lenses can make walking movement less obvious, but they also change perspective and subject distance. A gimbal may smooth rotation while vertical movement from footsteps still remains.
Every correction has an operating cost.
Electronic stabilization may crop the frame, reduce available resolution, change rolling-shutter appearance, or require additional processing. Strong physical systems add weight, setup time, batteries, balancing, and restricted access to controls. A tripod reduces mobility and may require permission or more space.
Count these effects as part of the shot design. The best option is the lightest repeatable setup that produces the intended movement for the required duration—not the system with the strongest correction label.
Review the whole take, not one impressive moment.
Test for the real shot length, then watch the clip from beginning to end at normal speed. Check the opening and stopping motion, horizon, edge distortion, sudden corrections, focus behavior, crop, and whether the composition slowly wanders.
Export a short finished sequence and view it at the intended delivery size. Stabilization that looks impressive on the camera screen may still become distracting when several clips are cut together.
Stabilization should serve the movement of the shot, not become the movement of the shot.
The stabilization test
- Describe the movement the finished shot should keep
- Use the exact camera, lens, mode, and support planned
- Compare stabilization settings on stable support
- Record starts, stops, turns, steps, and changes of pace
- Inspect the horizon, composition, center, and frame edges
- Watch the whole exported sequence at normal speed